In all cases, read the manual and the release notes, especially if you plan to upgrade the firmware/software version. I will not be responsible if you damage your (expensive) equipment…
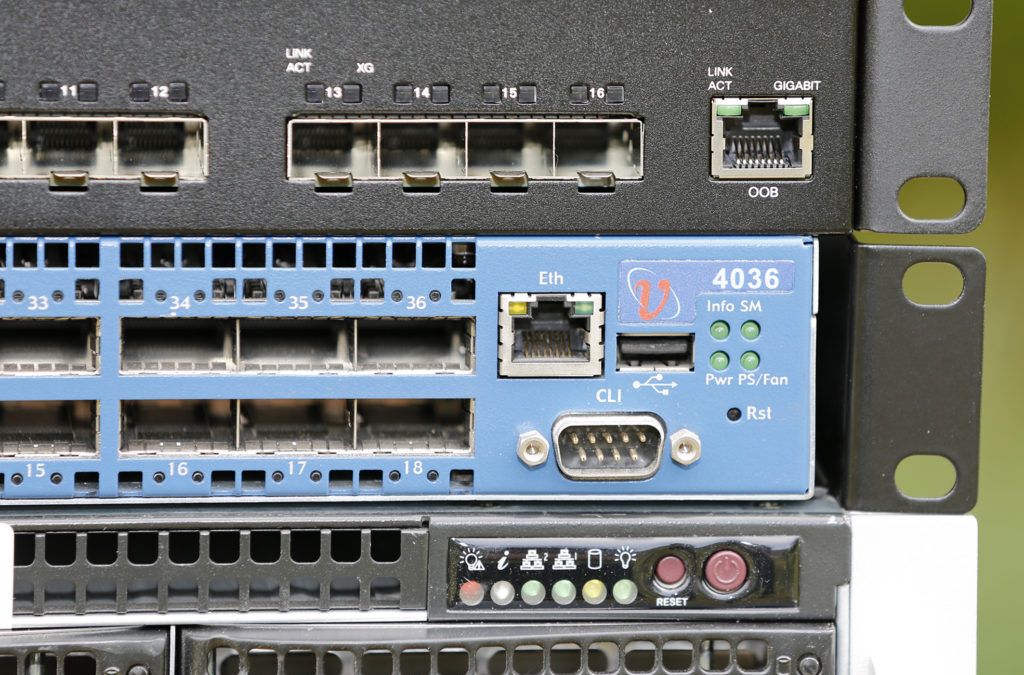
Use a serial connection
You can connect to the switch with the serial cable provided with the switch, and the screen command.
screen /dev/ttyUSB0 38400,vt100
Or SSH
If you connect the management interface to the network, you can also assign an IP to the switch via DHCP and use ssh:
ssh guest@a.b.c.d
You will find the default passwords in the manual.
Change all passwords
CORE2# password update admin
Enter new password (up to 8 characters) password: *******
Re-enter new password (up to 8 characters)password: *******
OK
CORE2# password update guest
Enter new password (up to 8 characters) password: *******
Re-enter new password (up to 8 characters)password: *******
OK
CORE2# password update root
Enter old password  (up to 8 characters)password: *******
Enter new password (up to 8 characters) password: *******
Re-enter new password (up to 8 characters)password: *******
OK
Time
The format of the time is MMDDhhmmyyyy (M = month, D = day, h = hour, m = second, y = year). Replace e.f.g.h with the IP of your preferred NTP server.
enable
config
ntp
clock set 031411502013
ntp server-ip-address set e.f.g.h
ntp status set enable
And finally, choose your timezone.
time-zone list show
> 170) Europe/Berlin

time-zone set 170
Name
You can set the hostname of the switch with the following commands. This name will be used in the “Node description” field, and is important if you want to understand the output of the IB commands (ibnetdiscover, ibswitches, etc).
enable
config
names
unique-default-name set disable
system-name set infinibandswitch14
exit
Subnet Manager
Choose the routing algorithm, in my case, min-hop. The other routing algorithms are documented here, choose accordingly to your network topology.
config
sm
sm-info show
-> default to min-hop
Or disable it if you have already installed a subnet manager:
sm-info mode set disable
At the end, restart the switch, it should be back in ~5 or ~10 minutes.
reload
Firmware/Software updates:
I have only tested the update from SW version 3.6.2-635 to 3.9.1-985. In all cases, you MUST read the release notes corresponding to your update. An error in the update process may break your switch.
- Again, read the release notes on mellanox.com, for the Voltaire grid director 4036 (not 4036E).
- If you still want to run this update, download the file
upgrade_all.tgz.
- Create a special user account voltaire on a SSH server (
10.180.44.23) listening on port 22, with password authentication allowed.
- Configure the remote server which host your firmware/software files:
  config
  remote
  server 10.180.44.23
  protocol set SCP
  username gd4036-fwupd
  password

  SWITCH-IB5(config-remote)# remote show
  remote configuration
  -----------------------
  remote server: a.
  username:      gd4036-fwupd
  protocol:      SCP
- Read the current firmware & software version
  infinibandswitch14# module-firmware show

  Module No.      Type            Node GUID             LID   FW Version  SW Version
  ----------      ----            ---------             ---   ----------  ----------
  4036/2036                                                               3.6.2-365
  ---------
          CPLD    1                                             0xa
          IS4     1               0x0008f10500201238    1      7.4.2200      VLT1210032201
- push firmware_complete.tgz in
10.180.44.23:~voltaire/ and untar it (tar -xzf firmware_complete.tgz).
- on the IB switches, in a SCREEN:
update software chassis [directory]
- Wait
- After the upgrade, you should see the new versions installed
  infinibandswitch14# version show
          version: 3.9.1
          date:    Sep 23 2012 12:11:59 PM
          build Id:985
  SWITCH-IB5# module-firmware show

  Module No.      Type            Node GUID             LID   FW Version  SW Version
  ----------      ----            ---------             ---   ----------  ----------
  4036/2036                                                               3.9.1-985
  ---------
          CPLD    1                                             0xa
          IS4     1               0x0008f10500201238    1      7.4.2200      VLT1210032201
  ---------